Would you like to prepare for the cold season by sealing your window frames quickly and easily? Find out below what steps you need to follow!
Heat loss in your home is not uncommon, and if you need to seal your window frames, you can prevent much of it. Although glazing also plays an important role, leaks between walls and window frames are the usual suspects when it comes to drafts. Since significantly more heat is lost through the windows than through the walls, you could take some countermeasures before the onset of winter. Here is some useful information, as well as a guide to sealing windows, that can help you save on heating costs.
Table of contents
What should you consider before sealing window frames?

Installing high-quality window frames and seals could significantly reduce the flow of cold air and therefore heat loss through leaky windows. The degree of this heat loss is measured by the heat transfer coefficient U, with lower values corresponding to lower heat loss. If you cannot replace your windows, or if you need caulking to seal the window frames in an old building, this can fortunately be adjusted.
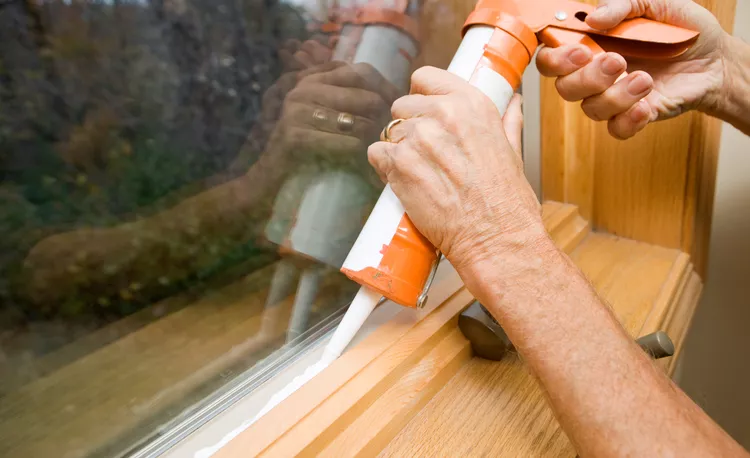
It’s not just old wooden windows that can be problematic, as some new plastic or aluminum products also let cold air in and heat out. It may be that cold air penetrating is a better option than condensation forming on windows after they have been sealed. However, proper sealing should not interfere with proper function and ventilation. This can also prevent forced ventilation and noise, with sealing being one of the best ways to achieve the desired thermal comfort.
How can you prevent heating energy from being wasted?

A constant loss of heat in your own home could not only have a negative impact on your household budget, but also on the environment. However, you can easily and inexpensively prevent this by eliminating gaps and cracks with sealants and sealing your window frames. Before you start, it is important to check where exactly the leaks are. There are several ways to do this, such as detecting increased airflow with your hand on a windy day. You can also check to see if light is coming in through any slits on the window frame. If you see any of these signs, window frame sealing would be necessary.

You can also prevent heating energy from being lost by sealing your window frames with various materials. When using different products for external or internal sealing, different sealing work is required. There are some common sealing materials and methods that usually work equally well on doors and windows. Some of these are window sealing tape, silicone, sealant etc. Here are some more details about the different variants.
What common materials to use when sealing window frames?
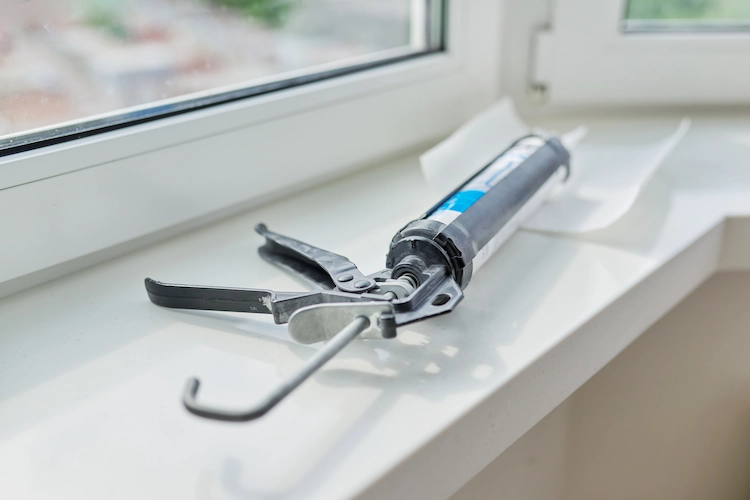
- construction foam is an affordable and easy-to-use sealant that can be applied to window frames and window sills. However, you should distribute the product behind the window sash and along its edges.
- Foam sealing strips have different widths and thicknesses, so you can choose the one that best suits your window frame. You can even find asymmetrically manufactured variations to accommodate differences in curved windows.
- Waterproofing film is a reliable product that you can use when you need to seal window frames that are old or poor quality. This is available in different colors and can be attached to the frame both inside and outside.
- You can also easily use it Home textiles Seal your window frames. However, the distance between the inside and outside windows should be sufficient. For example, if you place a rolled up blanket or tights filled with cotton wool between them, they could work as a draft excluder.
- Silicone sealants offer an equally effective way to seal window frames made of different materials. For this purpose, however, you should first clean the window frame thoroughly and then protect it from damage with painter’s tape.
What factors to consider when sealing your windows from the outside or inside?
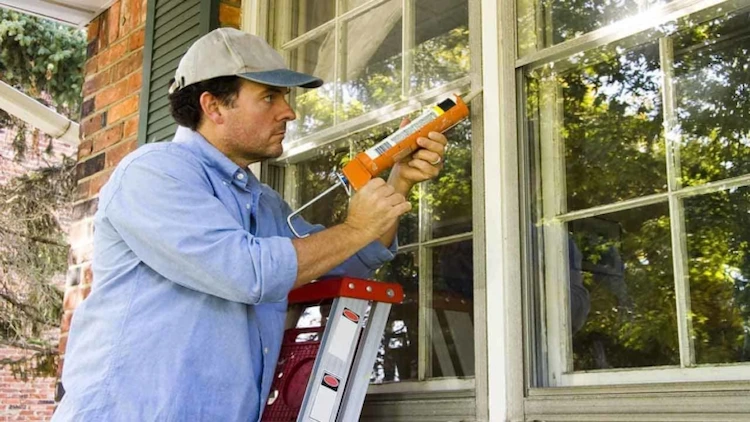
The choice of joint compound for sealing window frames depends on a number of influencing factors. For example, you should take into account that some window parts are constantly moving when the windows are opened and closed. For this reason, you should not seal these areas, otherwise leaks will always occur there. Keep the following things in mind to get the job done right:
- Outside, only fill the gaps where window frames meet window trim and where they connect to the house facade.
- Never seal the spaces beneath the connection area and paneling to allow trapped water to escape.
- Windows usually have drainage holes, which you should also not seal when sealing your window frames.
- Indoors, you should seal where window frames meet interior trim and where they connect to the walls.
- Check whether your window frame is made of vinyl, wood, aluminum or other material to meet the manufacturer’s requirements.
- Make sure your cladding is suitable for the sealant you choose, as fiber cement, for example, has different requirements.
- Find out which caulk is suitable for outdoors and which is suitable for indoors to make the right choice.
This is how you can seal a window frame step by step

Before you start waterproofing, you should think about the right conditions and tools for the work. Choose a day with mild weather and low humidity when sealing the outside of your window frames. The temperatures should be at least 7 degrees and there should be no rain the next day. In addition to the sealant you choose, you will need tools such as a putty knife, a caulking gun, a utility knife, painter’s tape, a cleaning cloth, something for smoothing, a nail and a bucket.
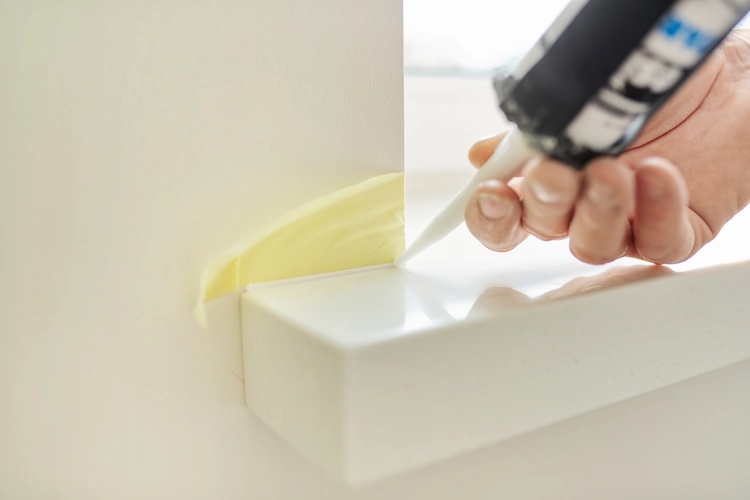
- First, use a spatula or utility knife to remove any remaining old sealant so that the new layer can adhere properly.
- First, check and repair any damage on or around the window frame.
- Then clean the area to be treated with a cleaning cloth and warm water with a little dishwashing liquid and let it dry.
- Meanwhile, you can load the caulk into the caulking gun and adjust the handle properly. Cut the tip of the cartridges at a 45 degree angle.
- Now make a hole in the cut area with the nail so that the sealant can come out of the cartridge.
- Then begin sealing by starting at one end of the frame and spreading caulk evenly to the center.
- Then continue to the opposite end and run the gun along until it meets the first bead in the middle. As you do this, press the tip firmly against the surface so that you seal the gaps well.
- Then repeat the steps on all four sides of the window frame to seal any remaining openings.
- Once you’re done with all sides, you’ll want to smooth the caulk all over. Various tools are suitable for this, but you can also use popsicle sticks, your fingers with rubber gloves, or a thin piece of fabric. Simply move it over the created bead with light pressure.
- After applying the caulk, you should allow it to dry for at least a day.


